I have been asked a lot from other creative souls that wondered, how these online classess come to life, and what it’s like to create one. In this article, I will shed some light on what you need to start the process of course production. Quick heads up: making a class is a colossal amount of work! But if that doesn’t scare you off and you’re genuinely passionate about a specific topic, read on and discover my approach to this process.
Choosing the Topic:
Picking a topic is both easy and tricky, requiring a bit of research. Plain and simple: if you’re investing time and effort, it better pays off. Time is precious, use it wisely.
To decide on a topic, start with areas you’re knowledgeable about. Your passion is your best teaching tool. Of course, you need a certain level of expertise to be recognized as an authority in your niche. That’s the obvious part.
But also, do some research on what’s trending in your niche. What are people consuming? How many courses exist on the topic already? What makes your concept stand out? Your course won’t sell just because it’s excellent; it needs to meet a specific market need. Market research is a must!
Choosing the Platform:
Now, think about where you want to offer your course. Various platforms cater to different topics, and each has its own set of rules. Some require applications (like Skillshare), while others let you dive right in (like Udemy). The payment structures also vary. Big platforms might have restrictions on course topics, so do your homework.
You can also sell your course on your website with the help of portals like Teachable or Gumroad. However, you’ll then be solely responsible for the marketing. If you can handle that, it’s worth considering, but keep in mind there are costs for hosting or software that you’ll need to deduct from your revenue. Personally, I always lean towards a platform with an existing clientele since I don’t have a massive marketing machine at my disposal.
The Basic Equipment:
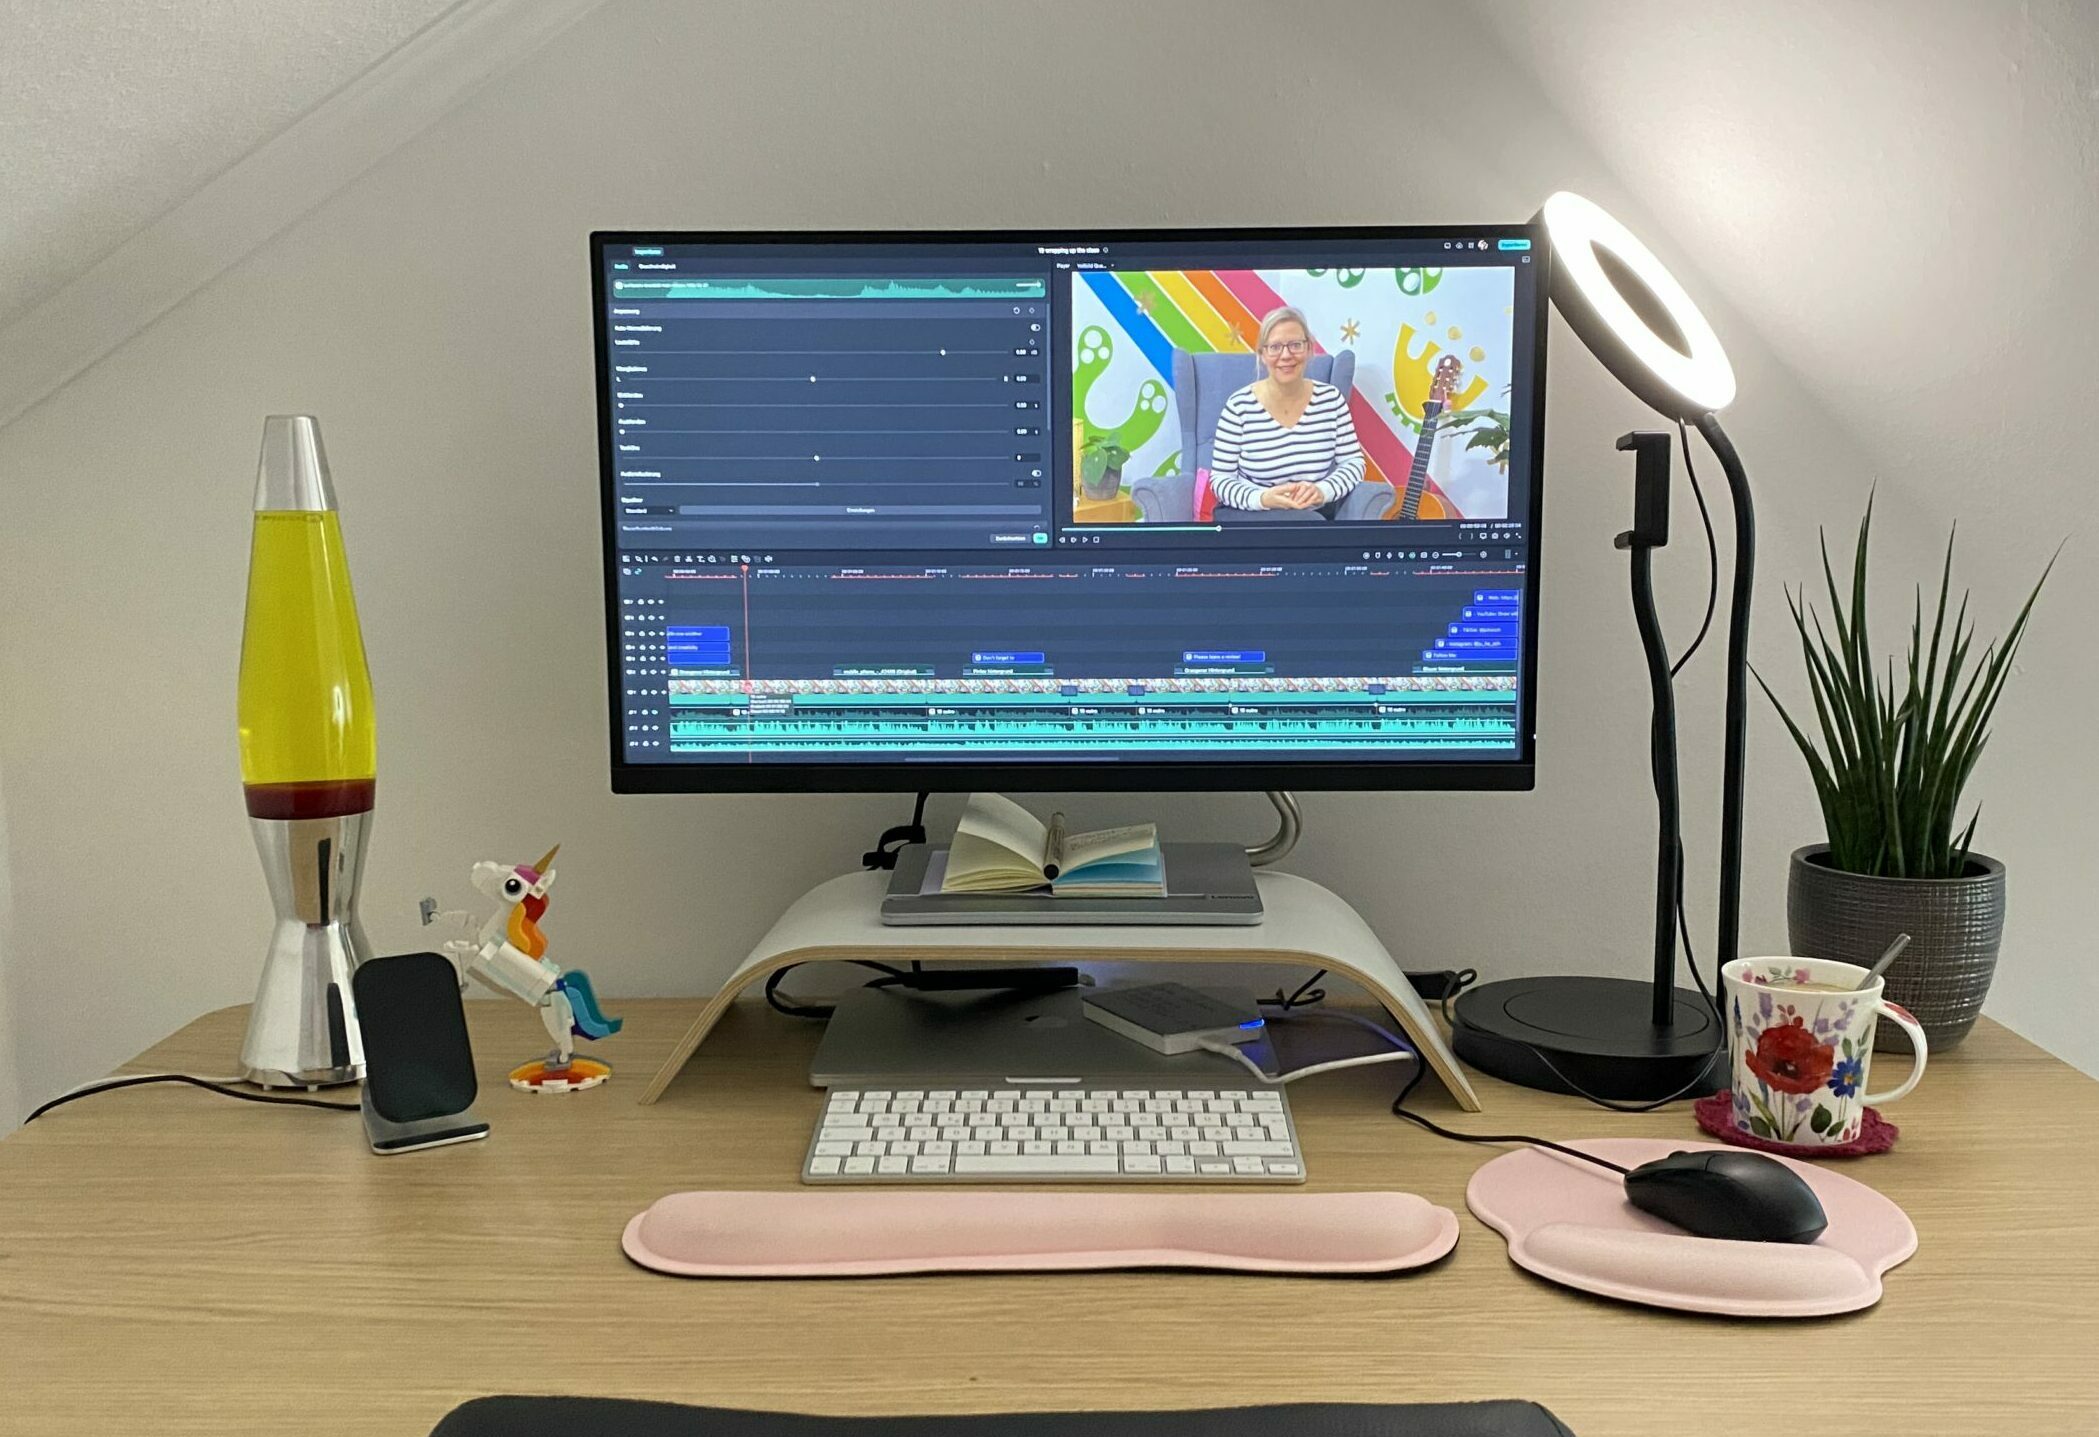
For the basics, you need something to film, good audio, lighting, and video editing tools. My advice: start small and upgrade gradually.
Camera:

No, you don’t need a fancy DSLR camera – your smartphone works just fine! I’m not very skilled in photography, and all the features of a DSLR camera intimidate me. Using a phone is super easy! The cameras on newer smartphones have incredibly good quality, and almost everyone has one.
Audio:

Depending on how and what you’re recording, if you’re close enough to your phone, you might not need an extra microphone. However, for Talking Head recordings in a room farther away from the camera, I recommend an additional microphone. There are lavalier mics that you can attach to your clothing and transmit to your phone via Bluetooth – very convenient and easy to handle. Of course, you can also get a USB microphone and record the audio separately on your laptop/computer, but that always felt like too much hassle for me, to be honest. I started with a Bluetooth lavalier microphone set and now use a Blue Yeti USB microphone, plugging it into my phone with an adapter. The sound is great!
Lighting:

Good lighting is crucial – poor lighting can significantly affect video quality, and your students won’t appreciate that! What you need is COLD light; newer LED lights often have color-changing functions where you can set your light to cool. Regular lamp light with incandescent bulbs is absolutely unsuitable as it causes an unpleasant yellowish tint in your video. Natural light is also great, but unfortunately not always available 😉 . Nowadays, you can find ring lights or lightboxes for a relatively small amount of money that help illuminate your set well. It’s worth watching tutorials on how to light your scene best – there are plenty on YouTube, just give it a search!
Editing:

You don’t necessarily need an extra device to edit your videos. I’ve heard of teachers editing their videos on their phones, but that would definitely be too fiddly for me. Editing works very well with an iPad, laptop, or desktop computer. If you have such a device, you should definitely use it. It’s just much more comfortable to edit videos on a large screen.
Creating A Class Curriculum:

Plan your class meticulously. What learning content do you want to convey? In what order do you bring in which learning step, and how should the setting be? HOW do you want to teach, WHAT makes you an instructor? Which camera settings do you want to use? Do you want to be seen and explain in all lessons, or do you film your iPad? Do you record your screen, and do you need infographics? Answer these questions to make the production smoother. I always ask myself: what course format do I enjoy the most? That usually guides my approach.
Choosing the Software:

Depending on your equipment, you’ll need video and audio editing software. I admit, this was the most challenging part for me, which kept me from getting into course production for a while. But here again, you can start small and build up gradually.
Apple users have the program iMovie available for free, which makes it relatively easy to edit videos. In any case, I recommend doing extensive research and trying things out to find the right application for you. Everything is available from free to horrendously expensive, from super simple and intuitive to professional. For example, DaVinci Resolve is a fantastic video editing program available to you for free. However, like Adobe’s Premiere Pro (available by subscription), both have quite some learning curve. There are countless tutorials on YouTube, though. Audacity is a free program for audio editing.
However, all of this was too complicated for me, to be honest. iMovie lacked some functions for me, while Premiere Pro or DaVinci Resolve terrified me 😀 After a bit of searching, I found Filmora, which is available either by subscription or as a one-time purchase. Here, I have simple, intuitive handling combined with pre-set elements, making editing quite easy for me. So far, I’ve created all my classes with Filmora.
Rights and Regulations:

Yes, even in course production, you have to keep an eye on copyright. If you’re using something you didn’t create, check the licenses. Fonts, photos, music – know what you can and can’t do. There are some platforms like Pixabay or Unsplash that offer royalty-free photos, videos, as well as sound and music. Nevertheless, it is always important to check the licenses. I try to create fonts myself (also helps with branding!) or purchase fonts from Creative Market and the like. I use photos from Unsplash or Pixabay and have an annual subscription to Uppbeat for music and sound effects. With this, I have obtained the license to use their music in both my courses and my YouTube content.
Hope this gives you a glimpse into the world of course creation. I have only listed the real essentials you need for creating your class. Maybe you’ll realize you could totally handle it! With time and experience, you’ll find out what works for you and what doesn’t and where you need to upgrade. For me it definitely is a blast and incredibly rewarding. Let me know if there’s anything else you’re curious about regarding class production!
How much time does it take me to create a new class?
Before I answer that, I want you to guess first, and then read on! 😀
Ready?
OK, here’s my estimated timeframe:
- From idea to written down concept it takes me about 2 weeks, depending how many other projects need my attention, and research/practice I have to do for the new class. In busy times or when the concept is fairly new (like my recent class “Procreate Dreams for Social Media”) it can take up to 4 weeks, until the concept is finalized and I’ve tried out and practiced to feel comfortable enough to teach the subject.
- Filming on the iPad is usually done in 1 – 2 days, given I did my homework with planning and preparation 😉
- Filming the “Talking Head” videos is a big lump for me as I have to create a set, make sure the lighting/audio etc. works well and I look good 😉 For my last class it took me 3 days and 4 filming attempts until I was happy with my footage. My recommendation: If you wear glasses: make test recordings to check the reflections on your glasses! A few don’t harm but when your eyeballs are covered constantly by circular or rectangular light reflections, it’s distracting and not pleasing to look at for your viewers!
- Creating additional assets, such as graphics, slides, workbooks, fonts, brushsets, color palettes etc. might also take up to a few days.
- Post Production including finding music, and editing all the footage you have takes me 2 – 3 weeks, depending of the length of my class.
What amount of time did you estimate? It roughly takes me 2 months from beginning to hitting the publish-button. Let me know in the comments, what you have calculated and if you have any more questions, just drop me a few lines here!
I hope this helped you in getting an idea of what it takes to make a class. Wishing you tons of success if you decide to dive into this adventure.
Happy creating! <3


0 Comments